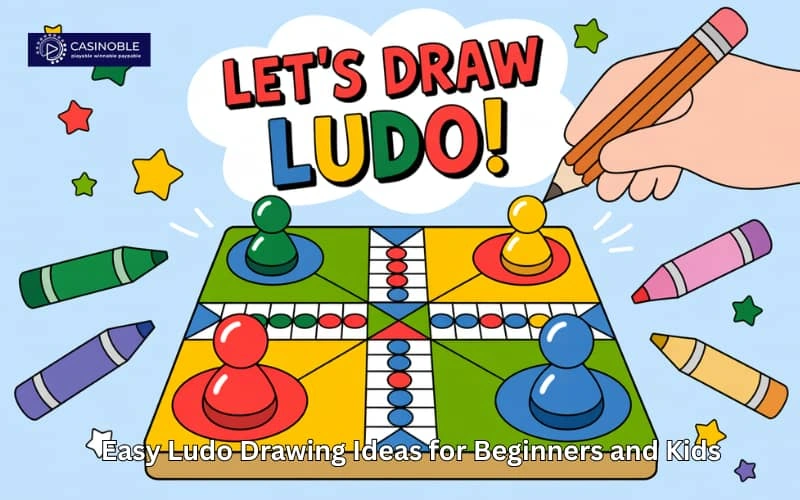
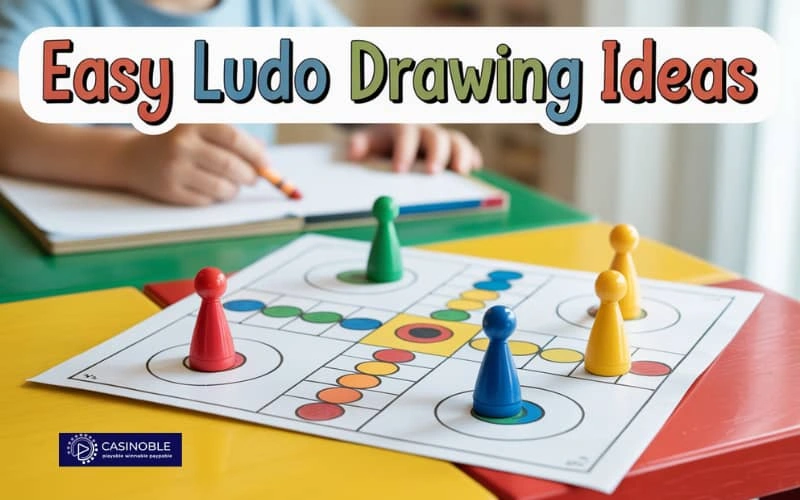
Ludo drawing easy is one of the most popular board games in the world, especially in countries like India. Many children and beginners enjoy not only playing Ludo but also learning how to draw it ludo king live. If you are looking for ludo drawing easy tips, then this guide will help you understand step-by-step ideas to make a perfect Ludo drawing that is fun and creative. Whether you want to draw it for school work, art practice, or just for fun, this article gives you simple ways to begin.
Why Drawing Ludo is Fun and Educational
Drawing a Ludo drawing easy board is not just about art. It helps children improve their hand-eye coordination, understand basic geometric shapes, and develop patience. When beginners look for ludo drawing easy guides, they want something simple, colorful, and clear to follow. A Ludo board includes squares, circles, arrows, and colors that help train visual understanding. Kids also enjoy coloring each section of the Ludo board and personalizing it.
What You Need for an Easy Ludo Drawing
Before starting your Ludo drawing, it’s important to gather all the basic materials. You don’t need anything fancy. Just a few simple tools are enough.
- A4 or square white paper
- Pencil and eraser
- Scale or ruler
- Black sketch pen or marker for outlining
- Colored pencils or crayons (red, green, blue, and yellow)
Once you have these items, you are ready to start your ludo drawing easy project.
Step-by-Step Guide to Make Ludo Drawing Easy
Step 1: Draw the Outer Square
Use a ruler and pencil to draw a large square on the paper. This will be the main border of your Ludo board. Try to keep all sides equal so your board looks balanced.
Step 2: Divide the Square into Four Equal Sections
Next, divide the square into four equal squares by drawing two lines through the center, one horizontal and one vertical. Now you will have four smaller squares inside the large square.
Step 3: Draw the Home Triangle
Inside the center of the board where all four small squares meet, draw a square. Then divide it into four triangles pointing toward each corner. Each triangle will represent one color’s home triangle.
Step 4: Create Player Zones
In each of the four large squares, draw a smaller square to represent the base of each player. These are the starting zones. Leave a small gap from the corner and make sure they are equal in size.
Step 5: Add the Path Squares
Draw a set of rectangular or square paths around each player’s home base leading toward the center triangle. These path blocks form the route players use to reach the home. You will usually have six squares along each edge of the board.
Step 6: Mark the Safe Zones
On each path, mark one square as the safe zone using a star or circle. This helps identify safety blocks where players are protected from getting cut.
Step 7: Add Arrows and Tokens
Draw small arrows showing the movement direction for each player. Then draw four small circles in each base to represent the playing tokens.
Step 8: Outline the Drawing
Once the pencil sketch is complete, use a black marker or sketch pen to carefully outline the drawing. This will make the final drawing stand out and look neat.
Step 9: Add Colors
Now it’s time to bring your Ludo board to life. Use red, green, blue, and yellow to color the respective sections. Color the home triangles and player bases with the matching colors. Make sure to color the tokens and path squares too.
Step 10: Final Touches
Erase all extra pencil marks and sharpen the colors if needed. Your easy Ludo drawing is now complete.
Creative Ideas to Personalize Your Ludo Drawing
Once you finish your basic Ludo drawing, you can personalize it in different ways. Here are some fun ideas for beginners and kids.
- Add cartoon faces on the Ludo tokens
- Draw a smiling sun or clouds in the corners
- Write the names of players on each color zone
- Use glitter pens or stickers for decoration
- Make a mini version of the board on another paper for travel play
These little additions make your ludo drawing easy and fun, and also unique.
Tips for Parents and Teachers
If you are a parent or teacher helping a child with ludo drawing easy techniques, here are some tips.
- Guide them step by step but let them use their creativity
- Appreciate their effort even if it is not perfect
- Give them examples of real Ludo boards for inspiration
- Allow them to color freely without too many rules
- Use the drawing as an opportunity to teach shapes and directions
Drawing should be a joyful experience. Encouragement will help kids become more confident and creative in their art.
Benefits of Easy Ludo Drawing for Kids
Ludo drawing is more than just fun. It has real developmental benefits for kids.
- Enhances spatial understanding and symmetry
- Teaches basic math through counting squares and sides
- Encourages focus and attention to detail
- Builds fine motor skills through precise lines and coloring
- Promotes imagination through customization
That’s why many schools and parents choose ludo drawing easy projects to combine learning and play.
Ludo Drawing in the Digital Age
In today’s digital world, kids also enjoy drawing Ludo boards using drawing apps or tablets. There are free tools online where they can drag and drop shapes, use digital brushes, and save their artwork. Whether it’s on paper or screen, ludo drawing easy activities help children learn and grow.
Conclusion
Ludo drawing easy methods are ideal for beginners and kids who want to enjoy a creative and educational activity. With just paper, pencil, and some colors, anyone can make a beautiful Ludo board. Whether it’s for fun, school projects, or just to pass the time, Ludo drawings bring a mix of joy and learning. Encourage children to draw, decorate, and color their own Ludo game to explore their artistic side while staying connected to this classic board game.